Leave Management Studio
Brief summary
The purpose of this program is to let employers manage the leave requests of their employees in a fast and easy fashion.
LeaveMS is strictly a windows-only program and it is meant to conduct all leave requests virtually, simplifying the whole process while
making it more accessible.
Note: if you wish to test this program yourself, I'll leave here an employee, respectively an admin's username and password for you to use:
User - Username: "Michael Steward" / Password: "33116"
Admin - Username: "Admin" / Password: "adminpassword"
Walkthrough
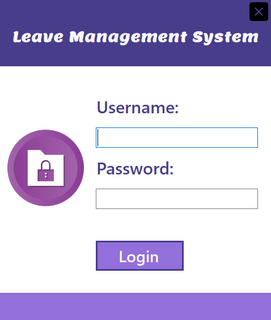
1) Login
The program is based on individual accounts, which are stored in a database built in MSSQL.
Because of the nature of this program, I chose to design it with only the option to login available.
The creation of the accounts can and should be done only by the admin.
LeaveMS can have two types of users: employer (the admin) and employee.
2) Employee Mode
If you were to login as an employee, you would be met with the page presented below.
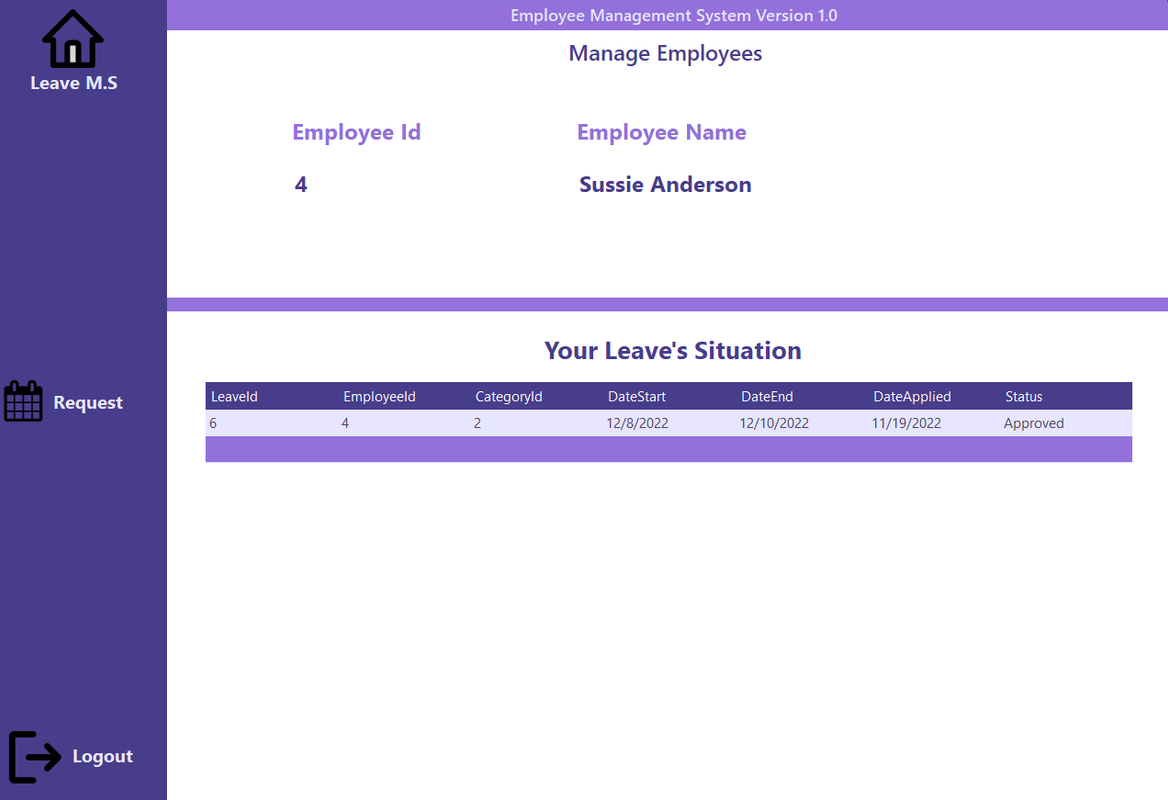
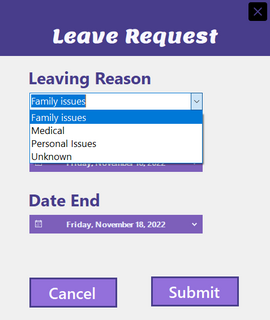
Each employee is naturally allowed to have more than one request, and in order to ask for a new leave, the Request button on the left panel needs to be pressed:
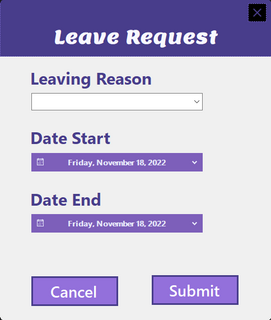
Here, the employees have to specify the reason for their leave, the date when it should start and the date when they want it to end. In order to send the request to the admin, the submit button has to be pressed. The submission will automatically be listed with a "Pending" status until an action will take place from the admin.
3) Admin Mode
A) Employees Management Page
If you were to login as the admin, you would be met with the page presented below.
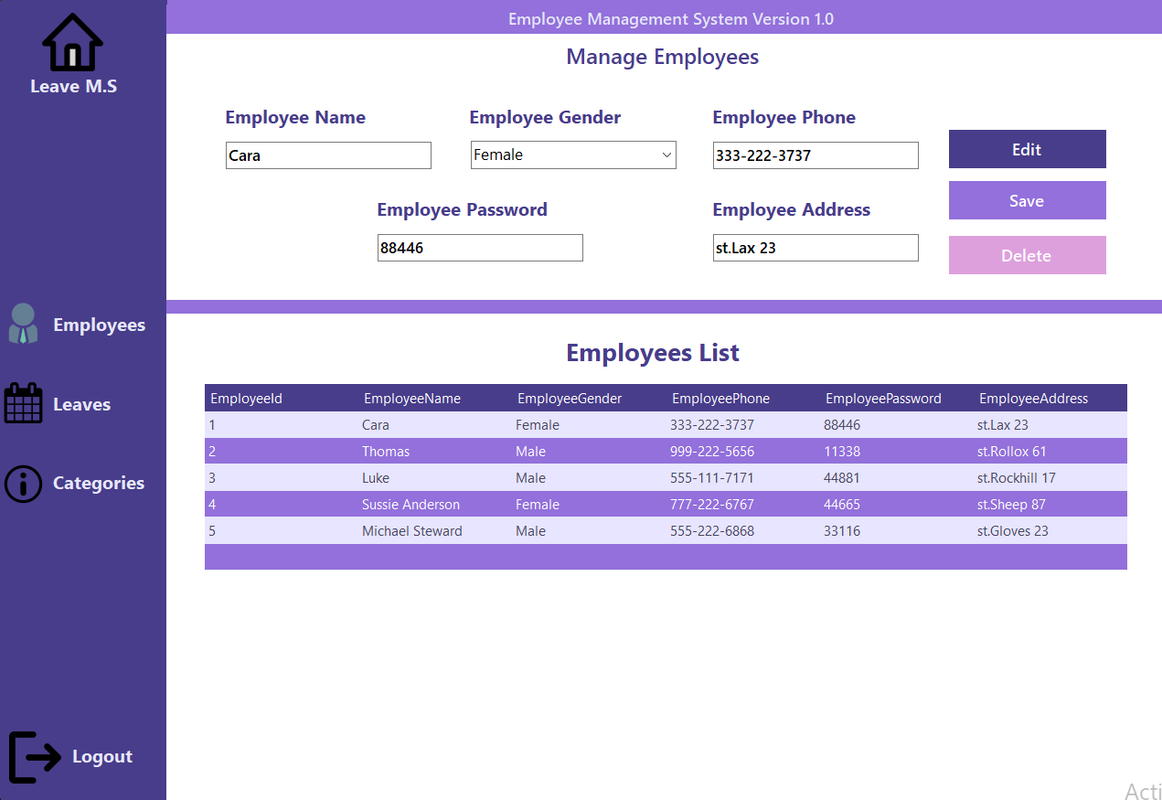
It's worth noting that clicking on any row in the table will automatically fill the textboxes from the upper side of the page. This is done in order to make Editing easier.
The Save option is pretty much used to create new accounts for employees (The employee's name is used as the username).
Deleting employees here will result in their removal from the database.
B) Leaves Management Page
To see the leave requests, the Leaves button from the left panel must be clicked.

This page functions in a similar way to the previous one, including the table filling up the textboxes above
when a row inside it is clicked. It's an important detail to notice, as this is the page where admins can Accept
or Reject leave requests. That is done by changing the status and clicking the Edit button. And Editing is enabled
ONLY when the textboxes are filled, which is why it's pretty handy to just select a request directly from the table.
The Save and Delete buttons function in a similar manner to how they do in the Employees page (the previous one).
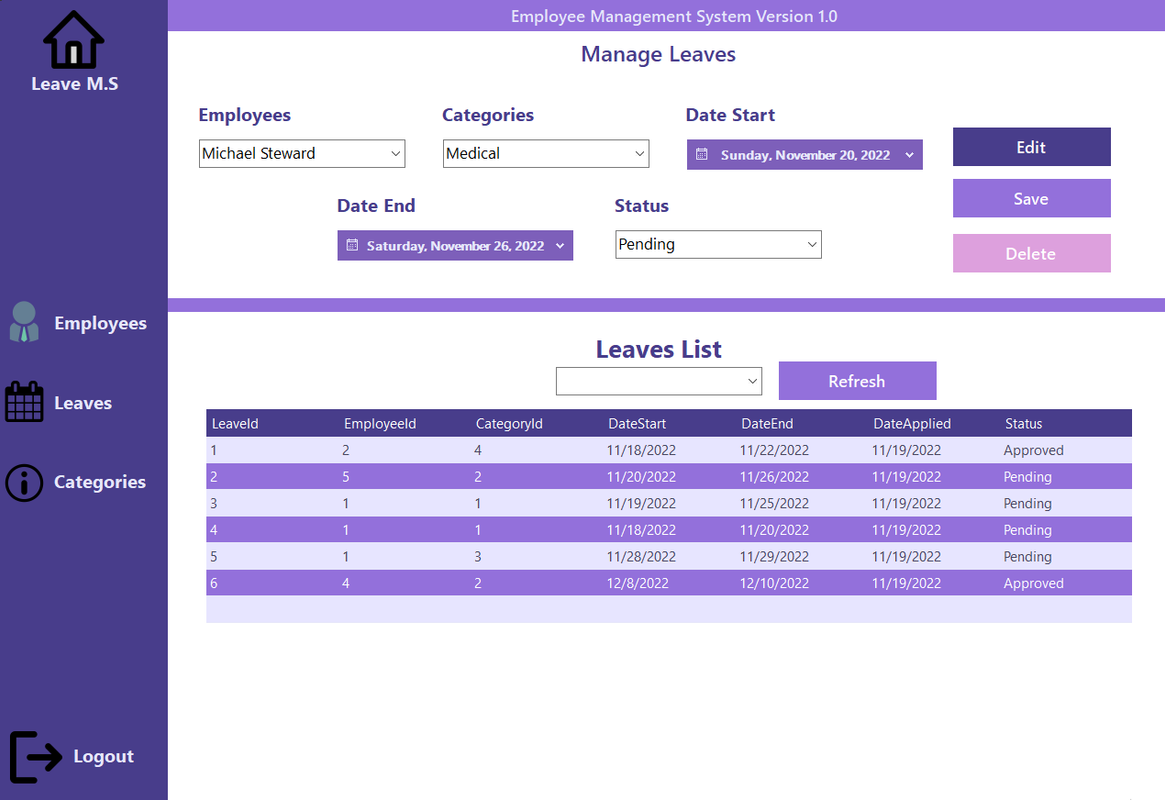
As you can see, there is one additional feature available for this page, which is right above the table.
You can filter all the requests based on their status. Say if you were to select "Pending" in the search bar,
only the activities with this status would show up.
Also, the Refresh button is there in case you want to see all requests again, regardless of their status.
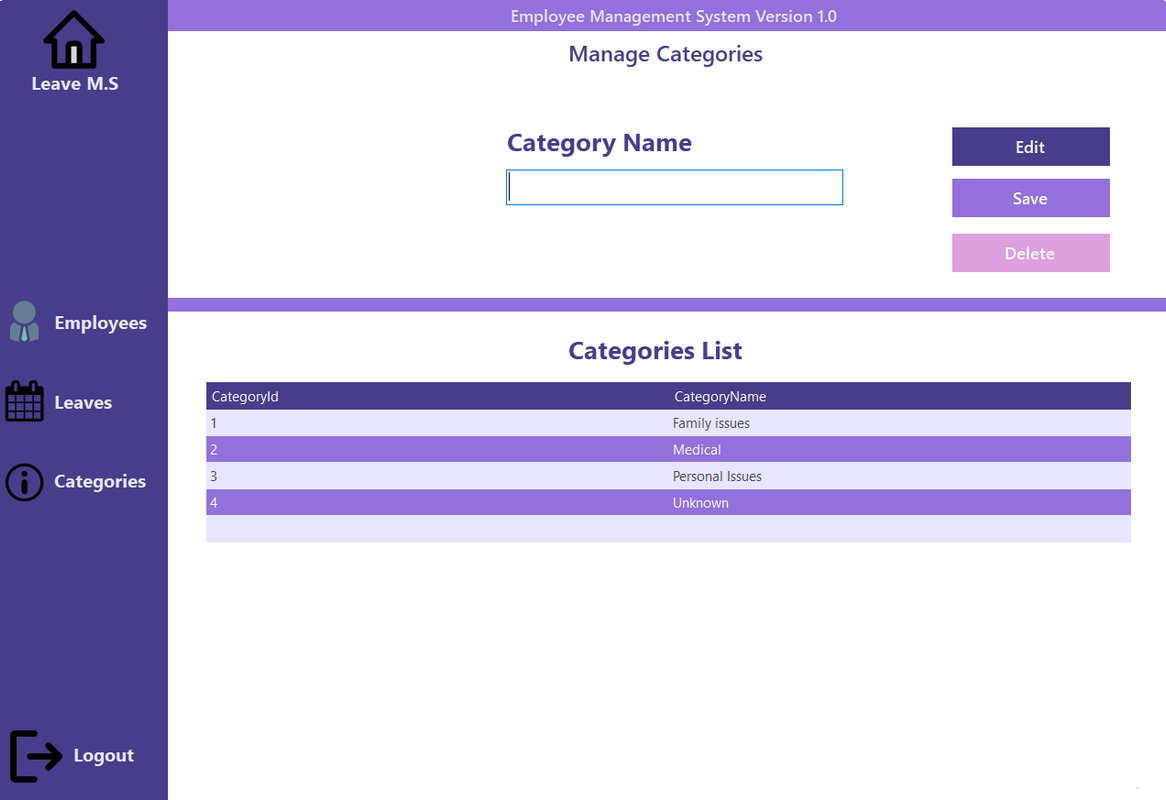
C) Categories Management Page
One important detail not mentioned yet is that the reason for taking a leave must be selected from a list,
which is personally provided by the admin.
Here is an example of such list:
The admin can Add/Remove/Edit the reasons for taking a leave in the Category page, which is selectable
through the Category button from the left panel.
The process doesn't function much differently here either. You have one single textbox on the upper side of the page, where you can type in a new leaving reason and then save it.
You can also delete/edit an leaving reason after having one selected directly from the table.
Last but not least, to exit TimeEclipse, you first have to sign out, which you can do by simply pressing the Sign Out button on the upper-right side of the screen.

FAQ

What inspired you to build Time Eclipse?
Although I have to admit this project wasn't a personal idea, I chose to create it because of its apparent utility in the professional area.The main purpose was to get myself into building something even more practical to use in the outside world. The whole process has been a valuable source of learning overall.
How was the process of building Time Eclipse like?
 This wasn't the first project I've built, but I still had a lot to learn from this experience. From perfecting some of my already developed skills, to filling my knowledge gaps and overcoming certain weaknesses, I have become more steady in my approaches as a programmer.
When building up a virtual product, the process is rarely a straight line and I've grown to like the dynamism of constantly adapting and rethinking my strategies as I code. It is a collection of increasing, decreasing, and neutral slopes along the way. And surely LeaveMS hasn't been an exception.
What would you add/change about your program if you were to do it all over again?
 I'll list below 3 features that I would like to implement for this program:
- The "TBD" (To be debated) status, for cases when negociation between the employer and the employee needs to be taken regarding the leave request.
- An option for the admin to add new admins through the interface.
- Make the password self-generated for each employee and impose certain conditions to make each one of them strong.
Some of the best realizations I have achieved are:
- I further developed my analytical mindset. I also kept repeating positive habits such as asking myself the right questions and searching for the right information to solve unexpected problems when needed.
- I have become more confident in my skills and no more did I feel overpowered by troubling roadblocks when they appeared. Persistence and testing small pieces of code at a time helped me identify the source of each exception/bug that showed up, which made me overcome them much easier.
-I learnt the value of taking a break at the right moment. It's surprising how easily solutions come after taking a breather.